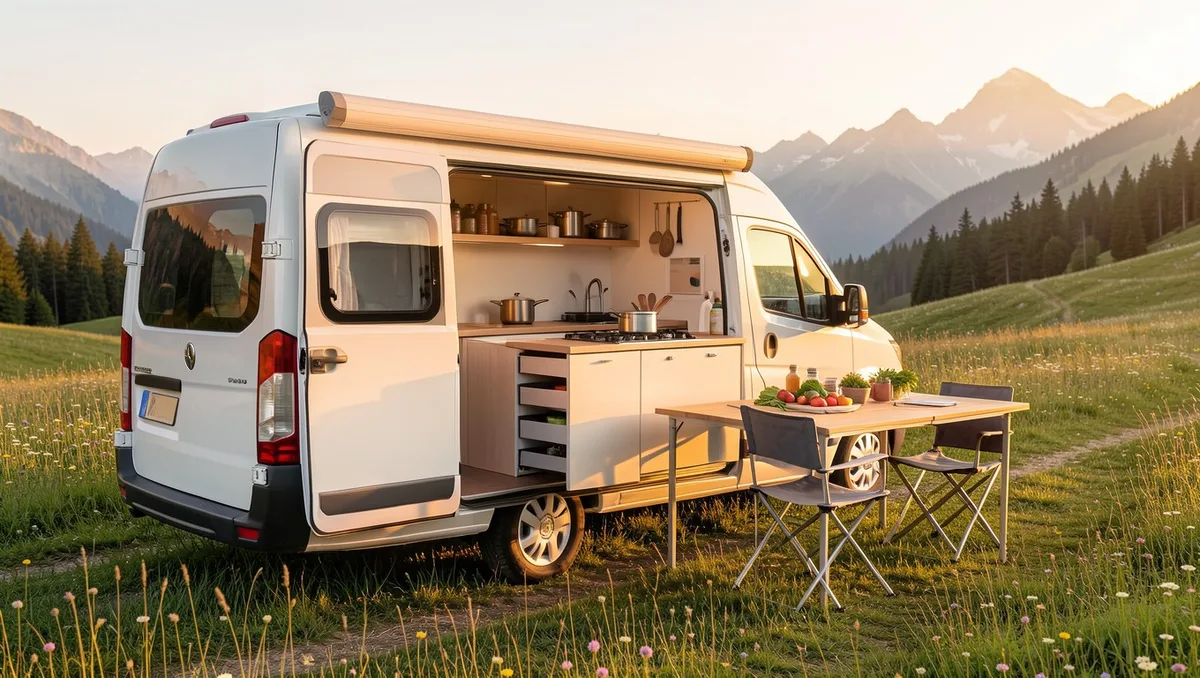
Your campervan interior feels cramped the second dinner prep begins.
Cooking fried fish or searing steaks inside a 60-square-foot living space leaves your bedding smelling like bacon grease for days. Pushing your galley setup out into the open air doubles your usable footprint and keeps moisture completely outside.
Build a slide-out system using 500-pound heavy-duty locking drawer slides, thick birch ply, and a drop-down prep deck.
Save the ideas you’d actually live with.
Slide-Out Galley Specs at a Glance
1. Dual-Runner Rear Tailgate Slide with Drop-Down Prep Deck
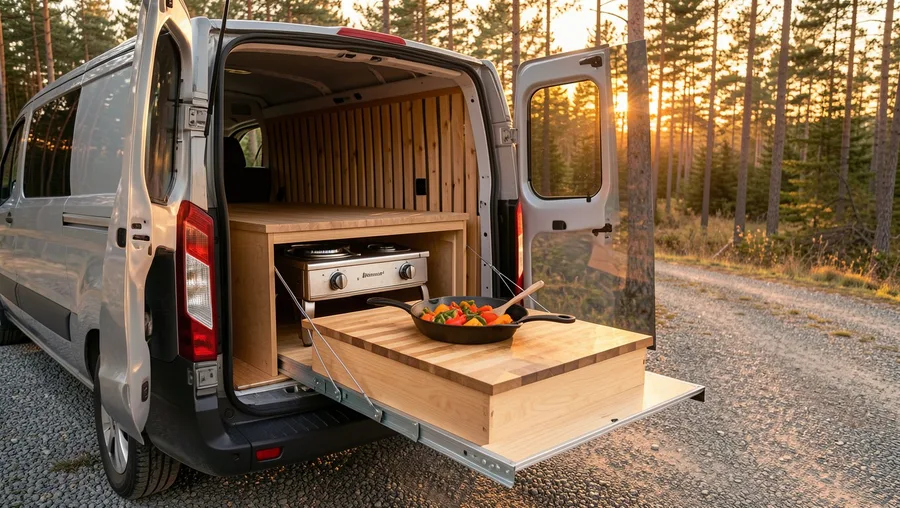
Rear-door cooking turns your bumper into an instant chef counter.
Mount 60-inch heavy-duty locking slides directly to the van’s subfloor using through-bolts and steel backing plates. A 3/4-inch Baltic birch chassis houses a low-profile two-burner Partner Steel propane stove, while a piano-hinged side wing drops down to yield an extra three feet of counter space.
Small footprints need smart expansion.
💡 Tip: Install a simple locking trigger pin to keep the drop-down deck perfectly level on uneven campsite terrain.
Rear Tailgate Slide — At a Glance
📐 Slide Extension
60 Inches
⚖️ Weight Capacity
500 lbs Locking
🌲 Ideal Location
Rear Barn Doors
🍳 Primary Surface
Butcher Block
Best Advantage
Completely isolates cooking steam and grease outside the living quarters.
2. Side Sliding Door Kitchen with Swing-Out Gas Arm
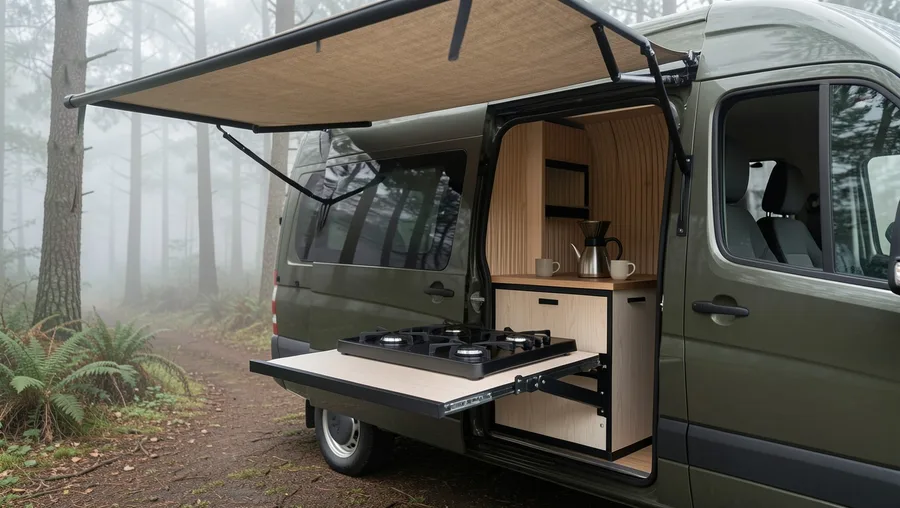
Cooking under your side awning keeps you dry when weather turns.
Build a narrow cabinet just inside the sliding door threshold. Mount your stove on a heavy articulated swing arm that locks at 90 degrees outside the van, letting you sauté dinner under the awning canvas while grabbing spice jars directly from the interior pantry.
This layout balances indoor access with outdoor air movement.
You get the shade of your awning without sacrificing interior floor area.
💡 Tip: Run a quick-connect LP hose through the cabinet side wall to avoid moving propane tanks back and forth.
Best For
3. Nested Drawer Pantry with Pull-Out Cutting Board Sink
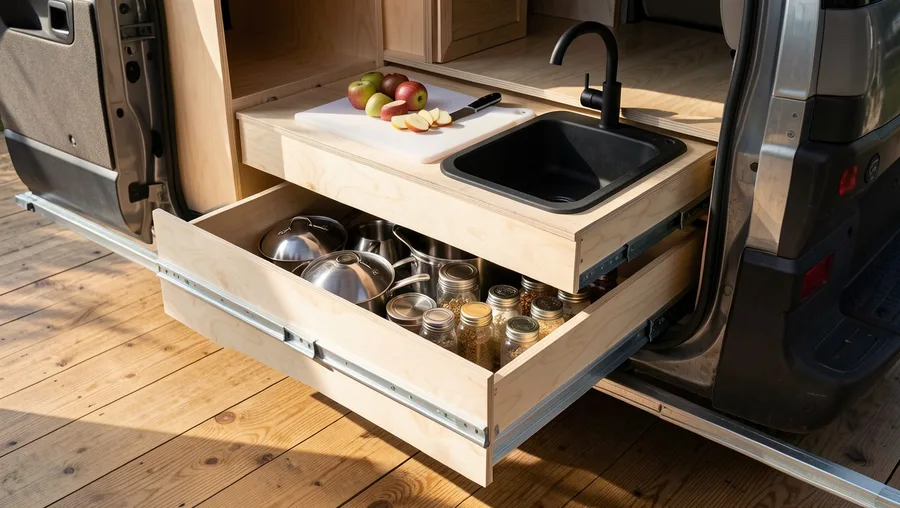
Layering your storage keeps three times the gear in one footprint.
Construct a drawer-within-a-drawer assembly where the top drawer holds a custom cut-out for a collapsible silicone sink and a food-grade HDPE cutting board slider. Push that top tier back, and the lower drawer reveals deep space for cast iron skillets and dry pantry bins.
Nested systems keep heavy gear low to the axle.
DIY Nested Slide Galley Budget
4. Bi-Directional Drawer Slide for Indoor and Outdoor Access
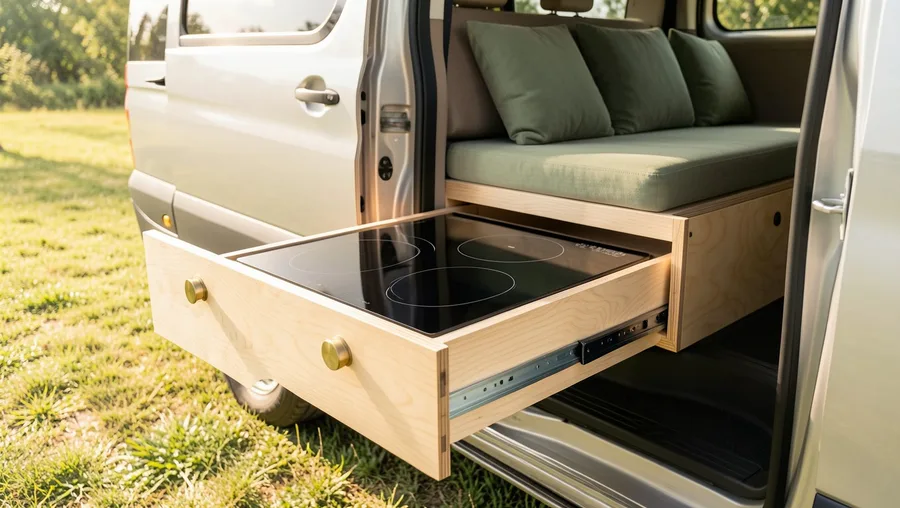
Why build two kitchens when one box can slide both ways?
Install two-way travel ball-bearing drawer slides in a central partition cabinet right behind your front cab seats. You can pull the stove drawer inward to brew tea during a downpour, or pull the exact same drawer outward through the open sliding side door when sun shines.
Dual-access design stops weather from ruining your dinner plans.
It cuts material costs in half.
💡 Tip: Use heavy push-to-release magnetic latches on both sides so the drawer never drifts while driving.
5. Under-Bed Slide-Out Tunnel with Integrated Electric Cooler
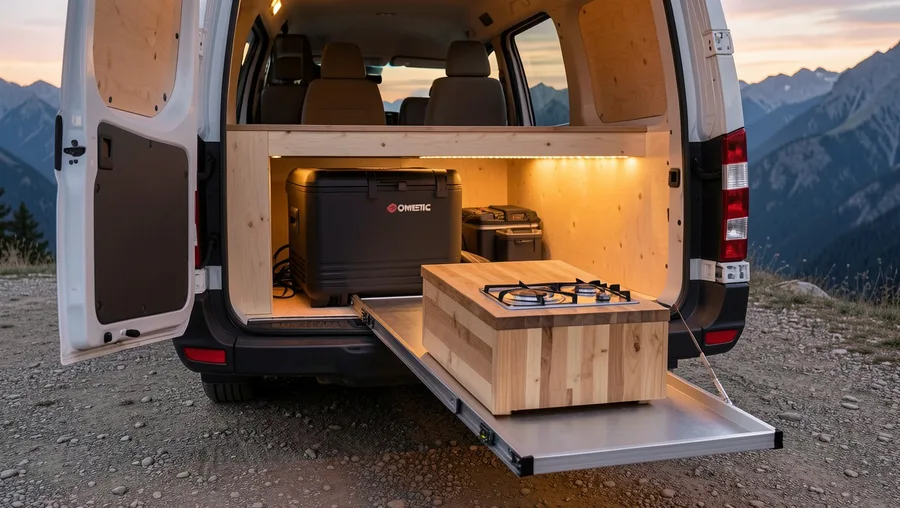
High platform beds leave massive dead space underneath.
Fill that garage cavity with an 8-foot-long slide-out tray constructed on 600-pound lock-in/lock-out slides. Mount a 12V compressor fridge like a Dometic CFX3 on the forward section, followed by a full cooktop and prep station on the rear.
Deep tunnel slides reclaim every inch of dark garage space.
Slide-Out Layout Readiness Audit
6. Fold-Out Tailgate Kitchen Module with Flip-Top Wind Deflector
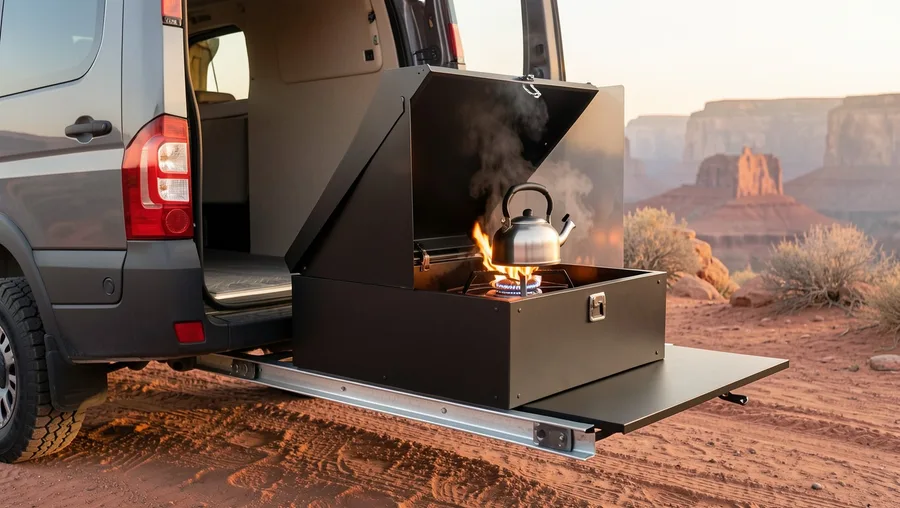
Breezy ridge tops will kill your stove flame instantly without protection.
Structure your outer kitchen box with a three-piece hinged aluminum lid that unfolds into a rigid backstop and side wing shields. When closed, it forms a sleek, flat protective box that slides flush beneath your rear gear storage.
High wind destroys cooking efficiency unless managed.
Stainless steel piano hinges ensure the wind shields never rattle off-road.
💡 Tip: Line the inner surface of the fold-out aluminum lid with thin silicone heat mats for easier grease wipe-down.
7. Cantilevered Side-Mounted Slide with Fold-Down Support Legs
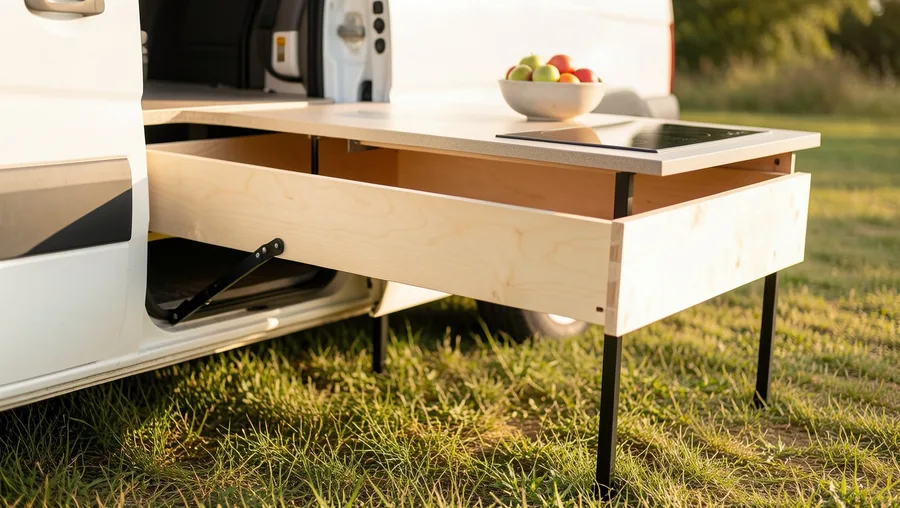
Long drawer slides experience massive leverage stress when extended fully.
Prevent slide sag by installing telescoping aluminum legs under the far edge of your galley drawer. These legs fold flush against the underside of the cabinet during transit, swinging down and locking into place with spring pins in seconds.
External legs take 80 percent of the load off your van subfloor.
Before You Mount Heavy Drawer Slides
-
Verify floor bolt clearances below the chassis Avoid puncturing gas tanks or brake lines under the van
-
Measure door frame rubber seal clearance Allow 1/2 inch gap so slide hardware clears rubber gaskets
-
Test weight balance across vehicle axles Keep heavy batteries and slide units on opposite sides if possible
-
Apply threadlocker to all slide mounting bolts Vibration on corrugated dirt roads will loosen standard nuts
8. Vertical Swing-Out Pantry Column with Pull-Out Prep Table
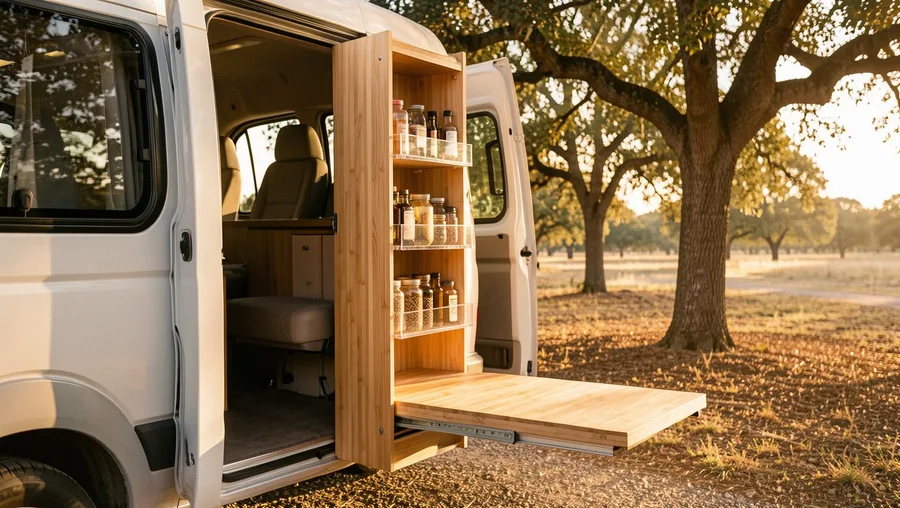
Vertical space is easier to harvest than horizontal floor width.
Construct a tall, narrow 12-inch wide vertical column mounted on a heavy floor pivot hinge. Swing the entire spice and dry food rack 90 degrees out the door, then pull a bamboo cutting board straight out from its center slot.
Tall columns keep your spices at eye level while cooking.
If it takes more than 30 seconds to set up your outdoor kitchen, you will end up eating cold cereal in bed.
— What custom van builders keep repeating
9. Modular Slide-Out Box System with Detachable Camp Stove
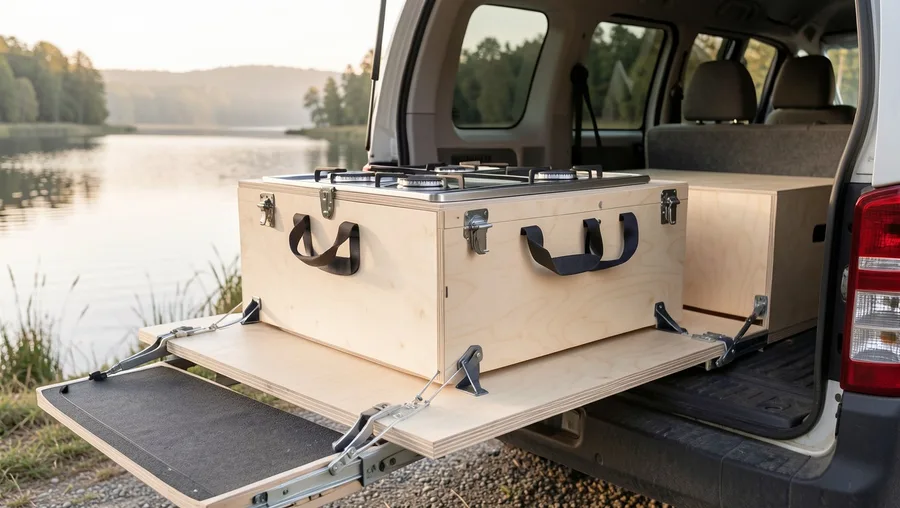
Fixed kitchens tie you to your van’s immediate footprint.
Design your slide-out tray to hold a modular plywood cook-box secured with quick-release toggle clamps. Unclamp the box, lift it by its webbing handles, and carry your whole stove setup down to a beach picnic table whenever you want.
Modular setups give you total campsite flexibility.
💡 Tip: Attach rubber foot pads to the bottom of the removable box so it sits level on rough picnic tables.
10. L-Shaped Rear Corner Slide with Integrated Water Jug Rack
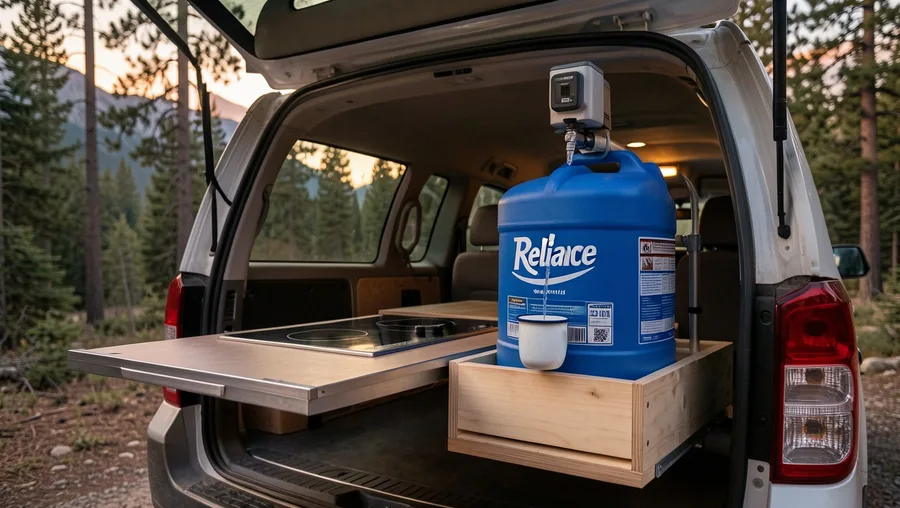
Water supply needs to live right next to your cooktop.
Build an L-shaped sliding tray that carries a 5-gallon Reliance water jug fitted with an electric USB water pump right behind the stove. Sliding both out together means you can wash produce and fill pasta pots without running water hoses through the van interior.
Integrated water racks eliminate cumbersome hose connections.
Pick Your Ideal Slide-Out Style
11. Ultra-Slim Aluminum Slide Deck for Low-Clearance Van Garages
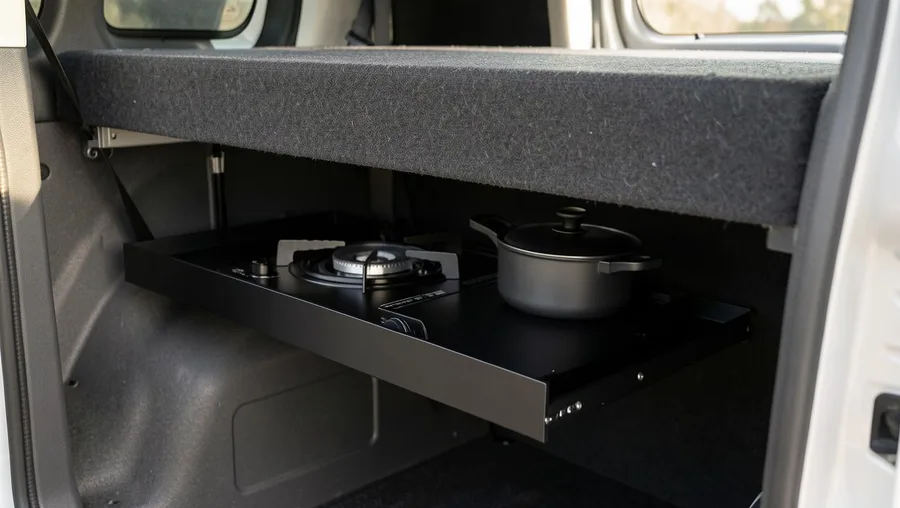
Thick plywood trays steal crucial vertical clearance under low beds.
Swap bulky 3/4-inch timber for 1/8-inch laser-cut folded aluminum sheet pan trays. Aircraft-grade aluminum saves two inches of vertical stack height while supporting the same 400-pound load, allowing taller coolers to fit comfortably beneath low bed platforms.
Metal construction drops total tray weight significantly.
Powder-coating prevents oxidation marks on your gear.
💡 Tip: Coat the inner aluminum pan with thin EVA foam lining to stop metal pots from rattling while driving.
Outdoor Van Kitchen Misconceptions
12. Drop-Down Tailgate Table with Integrated Slide-Out Burner Tray
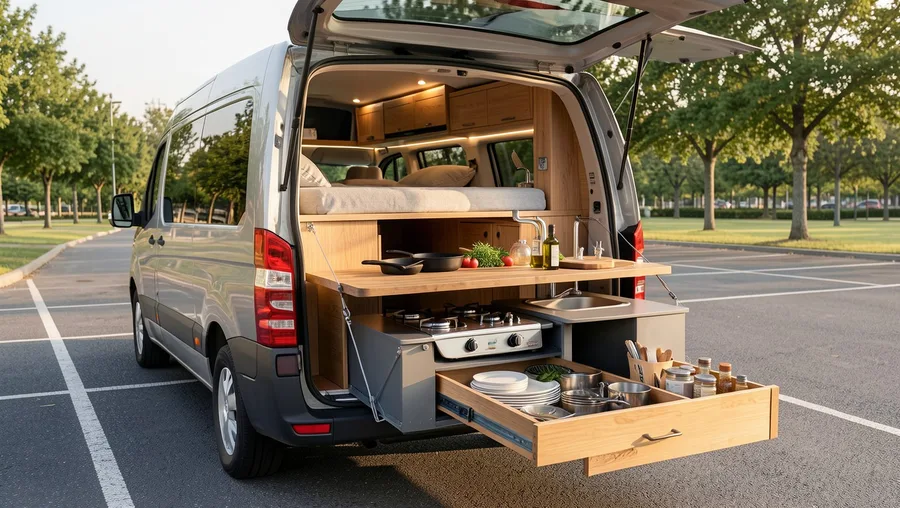
Door-mounted tables save precious floor drawer width.
Mount a heavy-duty fold-down bamboo table directly to the inner panel of your rear barn door. A secondary slim aluminum tray slides out from inside the bamboo table itself, creating a T-shaped workstation without taking up any garage floor space.
Door-mounted decks utilize totally dead vertical surface area.
13. Full-Width Tailgate Kitchen Island with Integrated Sink and Gas Range
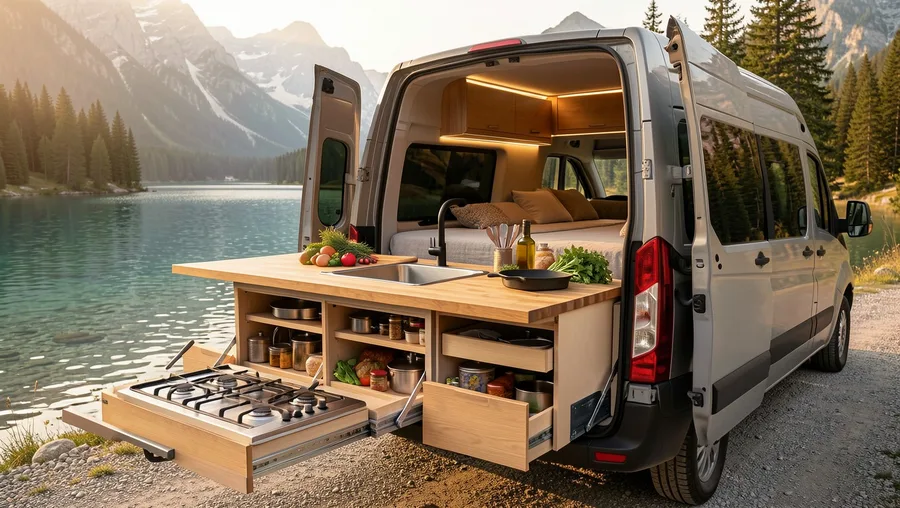
Go big if you cook full meals every single night on the road.
Spanning the entire 60-inch width between rear wheel wells, this massive double-slide island features a deep stainless bar sink, a fixed two-burner propane range, and integrated bamboo cutting board inserts over every cavity. It brings residential kitchen functionality out into the open wilderness.
Uncompromising setups make long-term overland travel effortless.
🔨 4 Steps to Build a Slide-Out Kitchen
Subfloor Reinforcement
Through-bolt 3/16-inch steel backing plates underneath your van subfloor to anchor heavy slide rails.
Slide Rail Installation
Mount 500lb lock-in/lock-out ball-bearing slides perfectly parallel using precision aluminum shims.
Chassis Box Assembly
Build the drawer chassis from 3/4-inch Baltic birch ply using pocket screws and waterproof wood glue.
Utility Plumbing & Test
Route flexible propane lines and 12V wiring using flexible drag chains to prevent pinching when closing.
7-Day Outdoor Cooking Prep Plan
Slide-Out Outdoor Galley vs. Fixed Indoor Kitchen
Slide-Out Outdoor Kitchen
- Zero grease or food odors inside sleeping area
- Doubles effective living space while camping
- Preserves interior van floor for seating or bed
- Easier cleanup with open-air ventilation
Fixed Indoor Kitchen
- Protected during severe wind and heavy rain
- Stealthier for urban overnight street parking
- No mechanical drawer slides to service or clean
- Immediate access without opening vehicle doors
Avoid These Common Slide-Out Mistakes
Start With This One Move
Pick your primary cooking location before buying a single sheet of Baltic birch.
If you camp mostly in stormy coastal areas, start with a side-door awning slide. If you cook high-heat meals in warm desert weather, build a heavy rear tailgate runner. Order high-capacity locking slides first, mount them securely to your floor subframe, and your dream outdoor van setup will take shape around them.