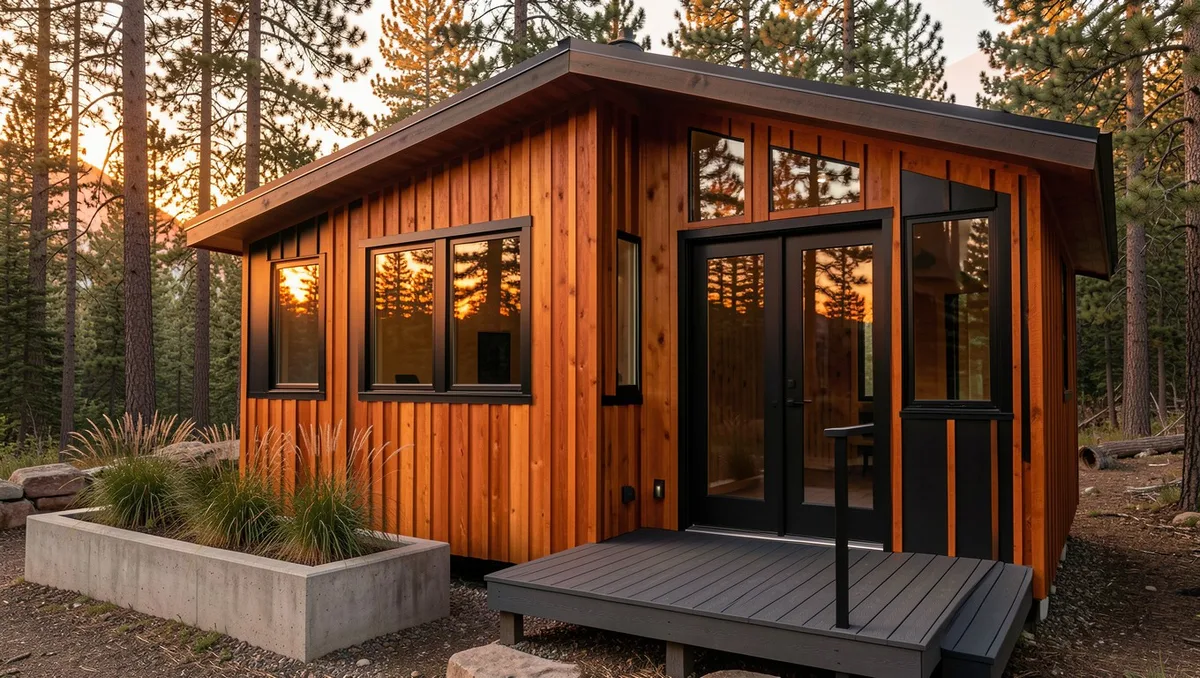
Your vision for a tiny home feels right, but horizontal pine siding keeps giving off cheap shed energy.
To get that true custom architectural finish, you need to turn those boards ninety degrees and swap to clear-grade western red cedar. Vertical siding draws the eye upward, doubling the perceived scale of small structures while shedding rainwater faster than any horizontal lap.
We are skipping the raw rustic log cabin look today. Let us look at how thin-reveal channels, burnt steel pairings, and crisp mitered corners turn small footprint builds into modern high-end retreats.
Save the architectural ideas you would actually build.
Cedar Exterior Specs
1. Tight-Joint Channel Shiplap with Matte Steel Accents
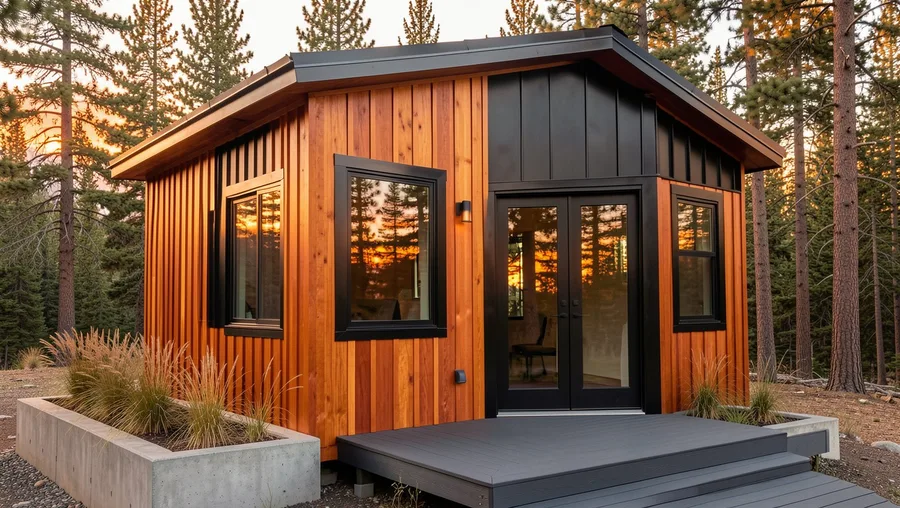
Horizontal siding flattens a tiny home visually.
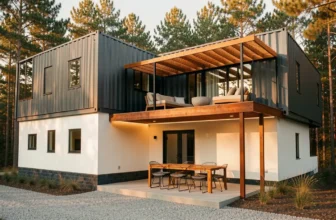
By orienting 1×4 clear-grade western red cedar boards vertically with a narrow quarter-inch shadow channel, you instantly force the eye to trace the full height of the exterior walls. Pairing raw golden-amber wood tones against dark matte-black standing seam metal panels creates sharp, modern contrast.
Standard lap siding looks dated instantly.
This high-contrast material pairing grounds the building while keeping the profile slender and clean. Run the vertical planks uninterrupted from the base drip edge straight up to the roofline fascia for maximum architectural impact.
Works best for sleek modern builds on triple-axle trailers that need to look taller and wider than road limits allow.
💡 Tip: Specify stainless steel ring-shank nails during installation; galvanized fasteners will react with natural cedar tannins and cause black streak stains within six months.
Best For
2. Charred Shou Sugi Ban and Natural Cedar Contrast
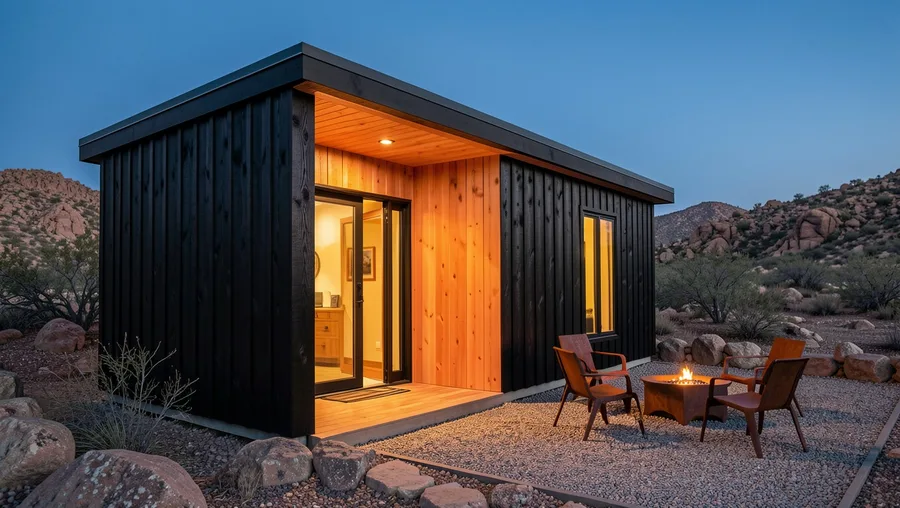
Single-tone exteriors miss the chance to highlight pure architectural form.
Combining heavily charred Japanese yakisugi cedar boards with raw, clear-coated natural cedar siding splits your tiny home into distinct visual modules. The rich deep black carbonized texture absorbs harsh sunlight while the natural amber planks reflect it.
Contrast is everything.
Use dark charred vertical boards on the main living volume and frame your bump-out window boxes or recessed entryway in raw honey-toned cedar. That deep shift in surface texture gives even a 200-square-foot box the presence of an architect-designed retreat.
Works best for off-grid cabins nestled into dense evergreen woods or rocky desert terrain.
Siding Installation Material Costs
3. Variable-Width Planking with Mitered Exterior Corners
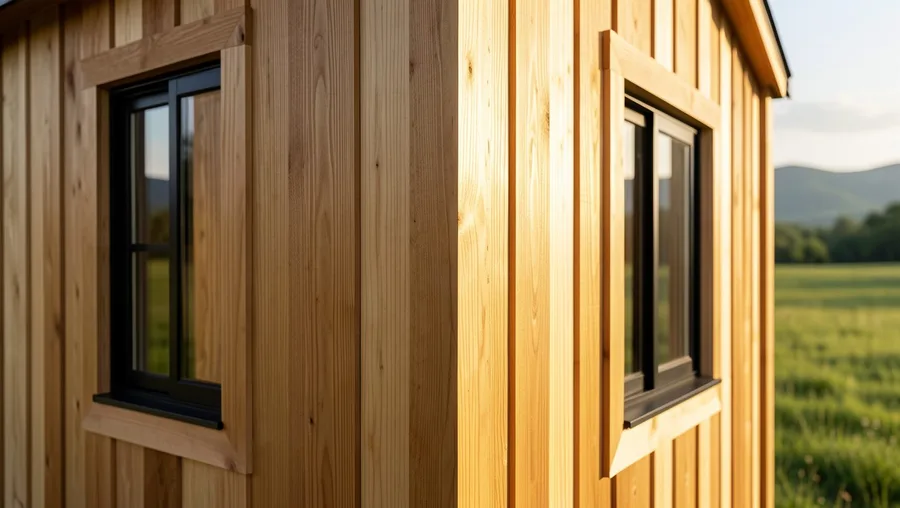
Standard uniform siding layouts can end up looking repetitive and manufactured.
Alternating 1×2, 1×4, and 1×6 vertical cedar boards across the facade creates a custom random rhythm that breaks up long flat walls. Wrapping those boards seamlessly around exterior corners using 45-degree miter joints eliminates chunky corner trim completely.
Details make the build.
Without heavy vertical corner boards cluttering the edges, your siding wraps the building like a solid piece of fine woodworking furniture. Ensure your builder uses external corner splines and waterproof exterior wood glue to prevent miter seams from opening over time.
Works best for high-end stationary builds where close-up visual details get noticed.
💡 Tip: Stagger your board width pattern on a workbench before nailing to avoid duplicate widths landing right beside each other.
4. Board-and-Batten Cedar Siding with Oversized Glass
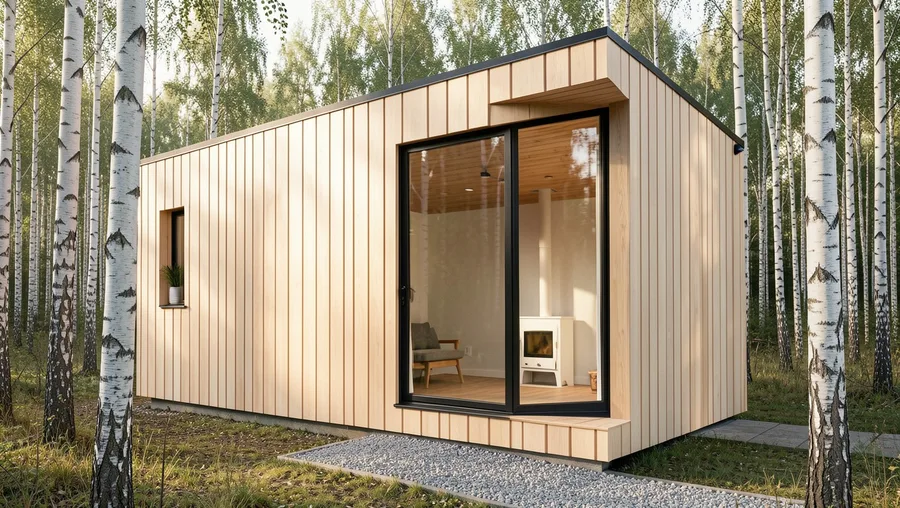
Traditional board-and-batten often leans too far toward rustic farmhouse.
To modernize it, swap out rough-sawn pine for smooth, clear-finish cedar 1×8 base boards paired with extra-thin 1×2 battens. Placing those battens 12 inches apart creates wide, clean shadow lines that frame massive black aluminum picture windows.
Scale changes everything.
The crisp vertical relief of the battens anchors huge sheets of glass so your tiny home looks anchored and structural rather than top-heavy. Keep window trim minimal by running the cedar battens flush against window extension jambs.
Works best for modern farmhouse or Scandi-style tiny homes with soaring loft ceilings.
Board & Batten — Spec Sheet
📏 Base Board
1×8 Clear Cedar
📐 Batten Size
1×2 Square Edge
↔️ Batten Spacing
12 Inches On-Center
🎨 Recommended Finish
Matte Transparent Oil
Pro Tip
Nail battens through the center gap to allow underlying base boards to expand naturally.
5. Rain Screen Cedar Battens over Dark Weather Barrier
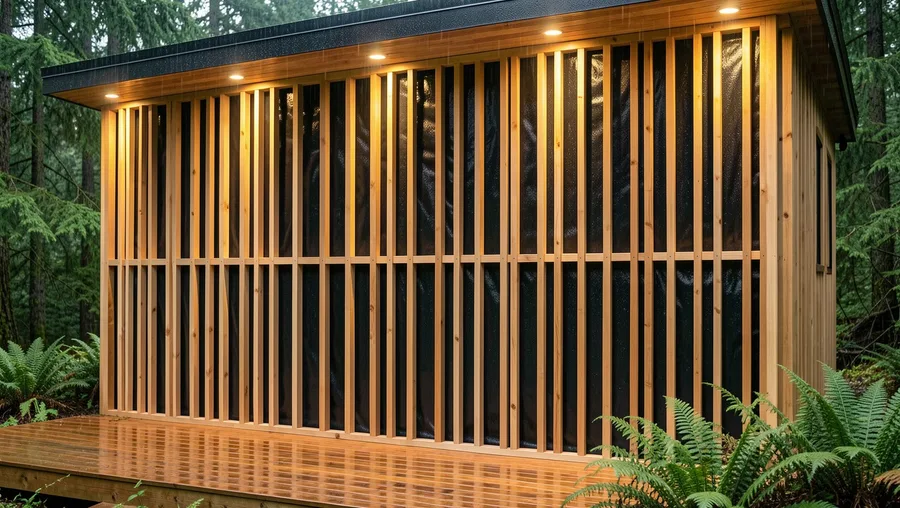
Flush-mounted siding leaves zero breathing space.
An open-joint timber rain screen mounts 1×3 vertical cedar slats over furring strips, leaving a open quarter-inch gap between every single board. A solid black, UV-resistant weather barrier sits mounted behind the slats, creating a deep shadowed backdrop.
Airflow prevents rot.
This construction technique allows rainwater to drain instantly and air to circulate behind the wood, doubling the lifespan of your exterior walls. The dark backer membrane provides intense visual depth, making the warm cedar slats look like they are floating.
Works best for rainy coastal locations or wet pacific northwest climates.
6. Weathered Silver Cedar Planking with Warm Interior Glow
Maintaining rich orange wood stains year after year takes work.
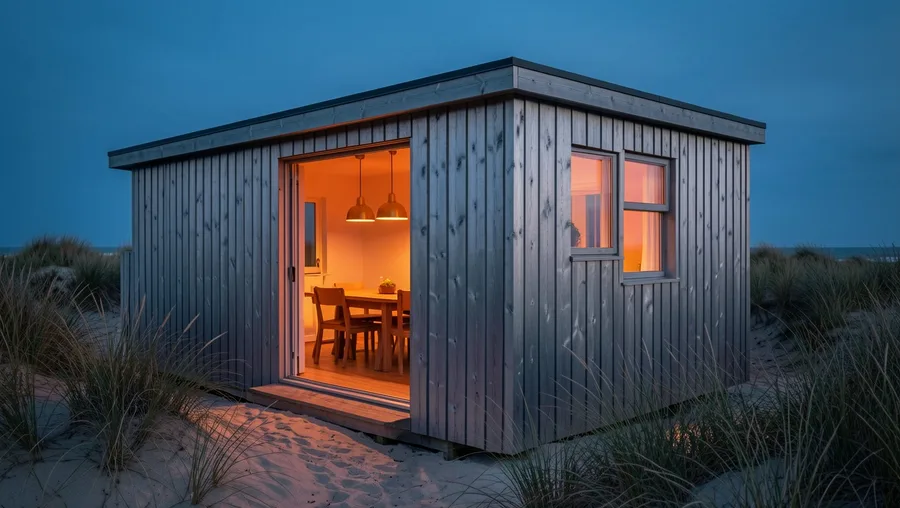
Allowing vertical cedar siding to age naturally converts bright reddish lumber into a silver-grey patina that looks like driftwood. Applying a high-quality weathering oil accelerates this process evenly, avoiding blotchy dark spots.
Embrace natural aging.
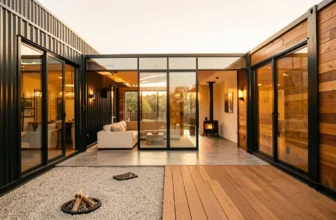
Pairing pale silver exterior siding with oversized windows casting warm 2700K interior light creates an incredible evening balance. The cool grey exterior disappears into dusk while the interior wood framing feels like a warm glowing lantern.
Works best for coastal dune builds, mountain cabins, or low-maintenance rental retreats.
💡 Tip: Apply a single coat of weathering treatment containing zinc to prevent mold spores from turning your aging cedar black instead of silver.
Cedar Siding Maintenance Effort by Finish Type
- Naturally Weathered Silver (Unstained): Zero re-staining required; annual wash only.
- Penetrating Tinted Oil Stain: Re-apply every 3–5 years; quick wash and coat.
- Charred Shou Sugi Ban Finish: Oil application every 7–10 years.
- Clear Film-Forming Polyurethane: Requires full sanding and strip every 2 years.
7. Narrow-Tongue Micro-V Groove Cedar Wall Panels
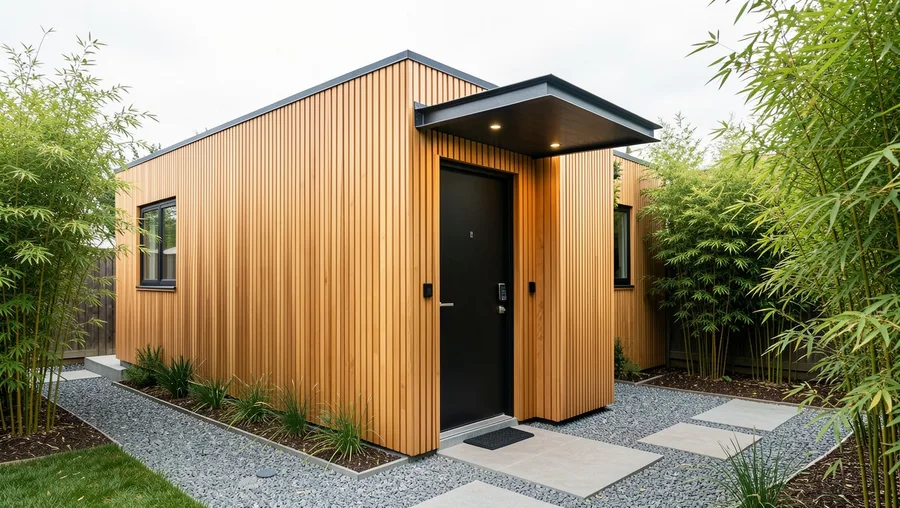
Rough textures do not belong on sleek modern tiny houses.
Micro-V groove cedar planking milled to a tight three-eighths-inch depth creates ultra-fine vertical pin-striping across your building. The micro-bevel edges catch subtle sunlight without throwing heavy shadows.
Sleek and precise.
This ultra-smooth profile works like exterior wallpaper, giving tiny homes an ultra-refined, furniture-grade exterior finish. Pair micro-groove siding with black powder-coated window drip caps and hidden fastener systems for a seamless, nail-free wall face.
Works best for high-end urban accessory dwelling units (ADUs) or boutique glamping rentals.
🔨 Vertical Cedar Installation Sequence
House Wrap & Vapor Barrier
Install a high-performance breathable weather-resistive barrier over the exterior plywood Sheathing.
Horizontal Furring Strips
Fasten pressure-treated 1×3 furring strips horizontally every 16 inches to create a drainage cavity.
Insect Screen & Starter Strip
Attach an aluminum mesh vent strip along the bottom edge to block bugs while allowing airflow.
Plumb Line & First Board
Set your first vertical cedar board perfectly plumb using a laser level at an exterior corner.
Blind Nailing Planks
Drive stainless steel ring-shank nails at a 45-degree angle through the tongues of each board.
8. Horizontal-to-Vertical Cedar Transition Walls
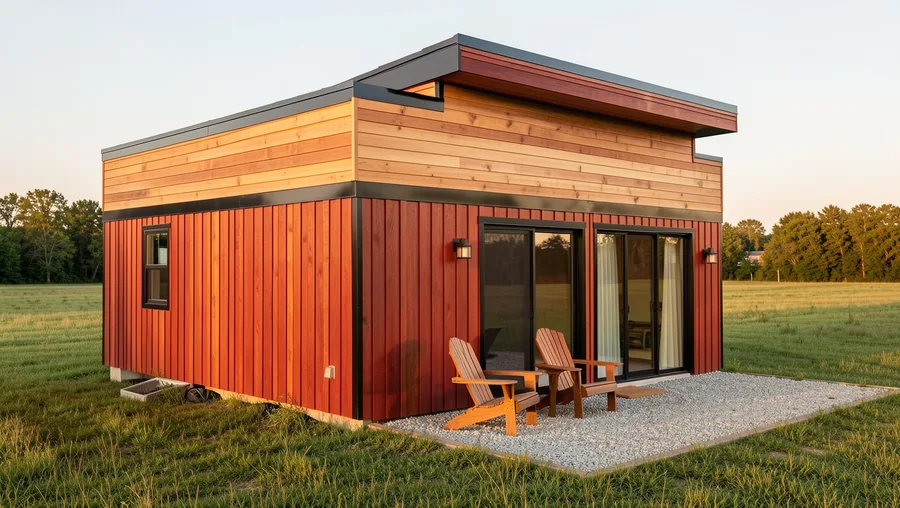
Unbroken vertical boards on all four sides can feel repetitive on larger tiny homes.
Break up long side walls by using vertical cedar boards on main living sections while running horizontal tongue-and-groove cedar across recessed bump-outs or loft dormers. A clean black metal Z-flashing strip creates a sharp horizontal dividing line between the two directions.
Structure guides the eye.
Changing board direction emphasizes architectural zones, making a single tiny house feel like a collection of custom modules. It also allows you to use shorter wood lengths, reducing material waste and cost.
Works best for multi-room tiny homes over 28 feet in length with loft additions.
💡 Tip: Match stain batch numbers carefully across horizontal and vertical boards so the wood tone stays uniform across direction changes.
Top Cedar Grade Selection Ranking
9. Integrated Vertical Cedar Siding and Hidden Deck Doors
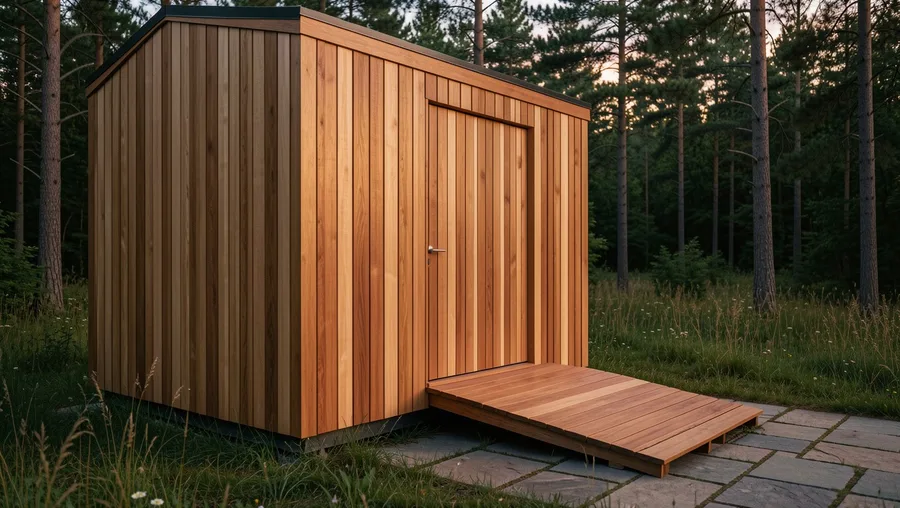
Exposed hinges and dark utility door frames ruin smooth exterior walls.
Mounting vertical cedar siding directly onto a flush-mounted exterior storage door or folding deck gate allows the opening to disappear into the siding pattern when closed.
Seamless stealth design.
Aligning the gaps of the door panel perfectly with the surrounding wall planks keeps your exterior lines continuous. When shut, your utility access or outdoor fold-down deck blends directly into the home facade.
Works best for minimalists who want hidden storage compartments or fold-down decks on road trips.
Clear Cedar vs. Knotty Cedar
Clear Grade Cedar
- Zero knots for sleek ultra-modern look
- Higher dimensional stability and less warping
- Easiest surface to seal and finish evenly
- Higher initial cost per square foot
Knotty Cedar
- Warm rustic character with visible grain knots
- Significantly lower material purchase price
- Knots can bleed resin over time if unsealed
- Requires sorting out loose knots during install
Avoid These Siding Mistakes
Vertical siding isn't just a style choice; it's an optical trick that makes a eight-foot wall feel like twelve.
— What Tiny Home Architects Keep Repeating
Start With This One Exterior Upgrade
Upgrading your tiny house exterior from basic lap siding to vertical western red cedar changes the entire tone of the build.
If you are stuck on where to start, order samples of 1×4 clear channel shiplap and test a rich penetrating satin oil against a dark metal accent panel. Seeing that warm timber texture in real light will show you exactly why vertical cedar remains the gold standard for high-end tiny home design.